Time to bake Brain Lagerstrom boules (before sourdough)
It was a twin track to Brian Lagerstrom 1 dough 3 loaves tutorial (5.1 million views as of the time of writing gives you an idea of the level of interest in home-baked yeast bread). I had learnt about the “complete package” of health benefits of whole grains and was now steering clear of shop bought foam bread and thinking I may one day try my hand a long=fermented, more nourishing and digestible, sourdough bread. Time to home-bake yeast bread.
Version 2.0. Brian Lagerstrom 1-dough-3-loaves walked us (15 year old son and I) through the process of home baking a yeast bread loaf with a preferment or “poolish*,” and next to no specialist equipment – not even a dough scraper. Bootstrapped, it is all in Brian’s tutorial. (Note – digital scales are important with ingredients weigh and not measured).
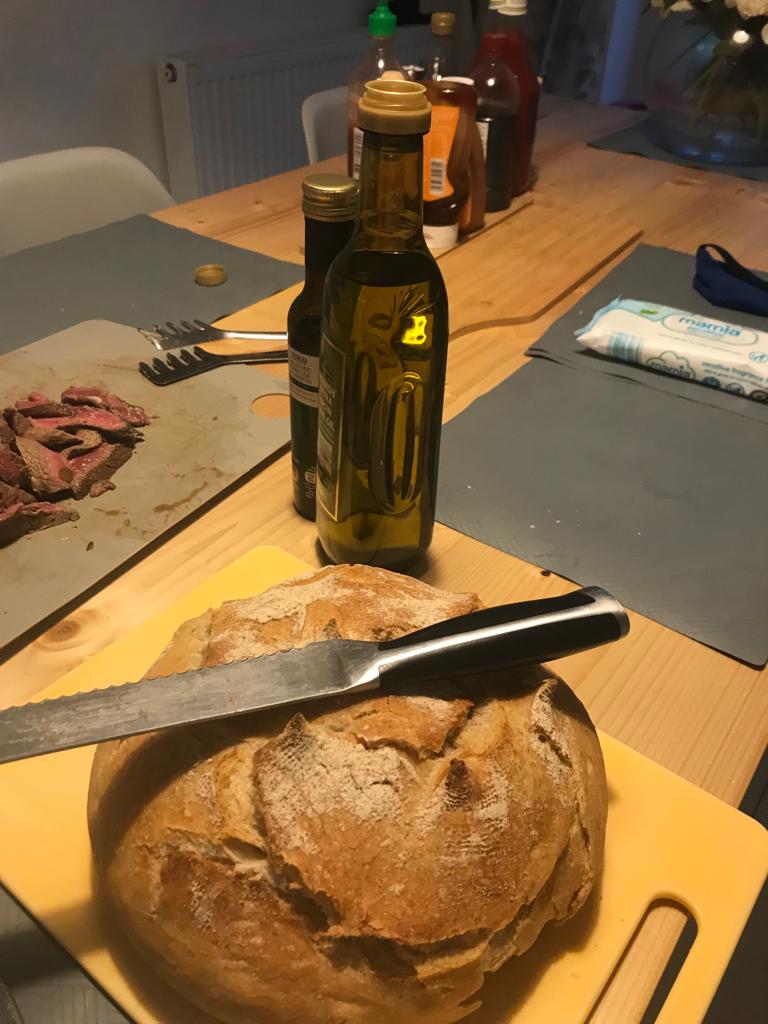
We have now baked about ten Lagerstrom loaves to date, all-round (but will say now, batards or ovals make for better slicing and toasting) including our first bake following Version 1 of the video. All tasty bar one. The aroma of the bake and the freshly cut loaves has been great. The colour could have been more mahogany but we have been impatient. The crusts have been crusty, maybe even better had we not been so impatient. Some crumbs were more aerated / more successful than others but still, these yeast baked loaves are somewhat tastier, more complexity, than any store bought bread including the store bought “fresh loaves.” We are making less mess, learning how to handle the dough, know the dough, and I believe that I am getting more effective at building strength in the dough.
We had tried two flours before reading advice to get better with one dough, one kitchen and one set of variables really well, before experimenting. So I have done just that. More perfecting and experimenting.
What loaves we have baked, we have mostly eaten at a single sitting. Occasionally, we have sliced and frozen what bread was left over – which has not been much.
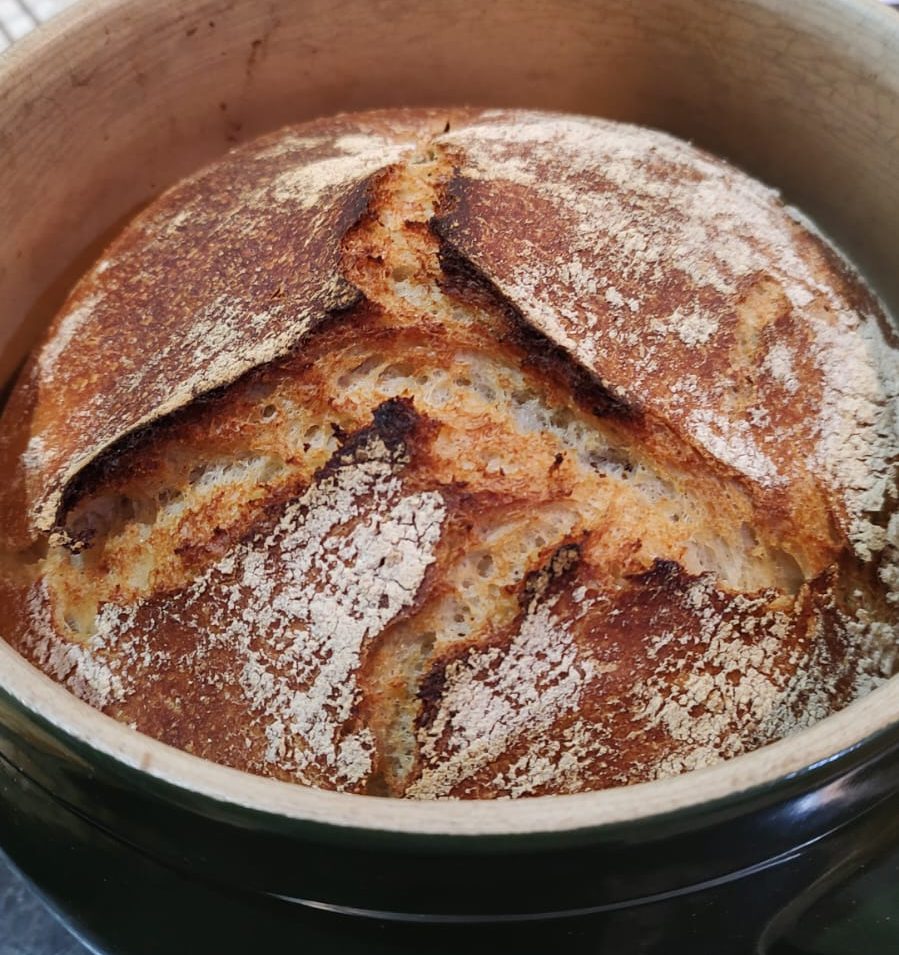
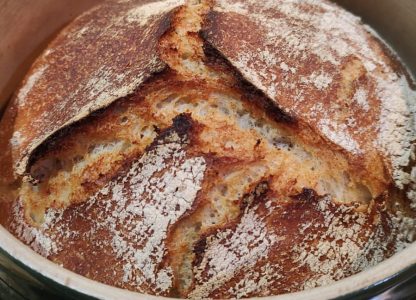
Apart from being a great yeast bread baking tutorial, Brian also taught us about the use and pitfalls of baking in a “dutch oven” or in our case a charity shop ceramic casserole dish purchase.
- Benefits: With the lid on you create a micro-climate from your bread to bake – promoting the bake “spring.” An enclosed, sealed, consistently hot environment, encourages the bread to rise for longer, hence the crust is thinner and crispier, with a crumb that is open and aerated
- Shape and size of dish / pot / oven (and weight)
- We went round for baking boules after finding a 24cm ceramic round casserole dish in our local charity shop for £4.*
- Handles required
- Round is fun but not so good for sliced home-baked bread – and more importantly, when you come to baking two loaves, “bake one, gift one” two ovals dutch ovens are more likely to fit side by side in your oven, saving time and keep utilities costs down, equalling better value baking. See the later posts for why moving to two loaves is very likely to happen
- Snug fitting lid – this is where the ceramic pot falls down and cast iron wins – however, larger cast iron dutch irons can be quite heavy
- Straight sides. You do not want the base / bowl to be wider than the mouth (like ours was) or your bread gets stuck and you have to wait for it to cool and shrink to get it out
- Shape and size of dish / pot / oven (and weight)
- Cons: The high baking temperatures wrecks the enamelled dish / pot / oven
There are plenty of buying guides for what you need, that said, we baked on a budget. With what we had before moving onto two second-hand cast iron casserole dishes / pots* and budget bannetons and scrapers. I regularly bake in my smaller 20cm oval dish and banneton (600g or 2-3 people). Less frequently in the 26cm round dish and banneton (830g or 6-7 people). Remember dough to bread evaporation of 15-20%.
Kits with an oval and round bannetons, scraper and lame are available for less than £30 – look for deals. Remember, your banneton should fit inside your preferred dutch oven. I prefer bartards / ovals – better for slicing, toasting, on-toasting and sandwiches.
I do think the tight fitting cast iron dishes bake a better loaf but I am not 100% confident.
I spent a lot of time trying to work out the right weight of dough mix to dutch over size / dimensions. Here is a very rough approximation.
| 70% hydration | Small 3-4 litres 20cm round | Medium 4-4.5 litres 24cm round | Large 4.5+ litres 26cm+ round |
| Flour (13% protein) | 388 | 446 | 563 |
| Water | 257 | 296 | 373 |
| Starter (50:50) | 98 | 113 | 142 |
| Salt | 8 | 9 | 12 |
| Dough weight | 751 | 864 | 1089 |
| Size of loaf (g) | 601 | 691 | 871 |
With growing yeast-bread home-baking confidence, I moved to educate myself about sourdough and the required scheduling, mainly for it’s long ferment benefits (more nourishing and digestible) and also for the flavours. Which brought me to Culinary Explanations and a “healthier and happier me” led me to email and express my gratitude to Phil – the knowledge and energy behind the website and Youtube channel. Next step sourdough.
Poolish*
A preferment “poolish” is a mixture of flour, water, and a small amount of yeast that is allowed to ferment for a certain period before being incorporated into the final bread dough. The purpose of using a poolish is to enhance the flavour, texture, and overall quality of the bread. The poolish is mixed together and left to ferment at room temperature for a specific period of time, typically overnight, although our timings were inconsistent.
During fermentation, the yeast and bacteria in the mixture consume the sugars, producing carbon dioxide, which causes the poolish to become bubbly and increase in volume. Enzymes in the flour break down proteins and starches, leading to the creation of flavorful compounds and the slow fermentation process contributes to a tangy aroma and taste in the final bread.
The poolish helps improve the texture of the bread by contributing to better gluten development. The texture of the bread tends to be improved, with a more open crumb structure and a chewy interior. The longer fermentation allows the proteins in the flour to undergo changes that result in a more elastic and extensible dough.
Once the poolish has fermented sufficiently and it is incorporated into the final bread dough, the remaining ingredients are mixed with the poolish to create the dough.
Pingback: Home-baked bread to home-school sourdough (part iv) before baking – Edventures
Pingback: Home-baked bread to home-school sourdough (part v) leavening agents and fermentation processes – Edventures
Pingback: Home-baked bread to home-school sourdough (part vi) schedules, shaping, stitching and tension – Edventures
Pingback: Home-baked bread to home-school sourdough (part x) In search of ‘spring’ – Edventures